It is currently November 24th, 2024, 11:46 am

Snowbird's orphaned Charger 16DL

View active topics

All times are UTC - 5 hours [ DST ]


Post new topic Reply to topic  [ 68 posts ]  Go to page Previous  1, 2, 3, 4, 5 ... 7  Next
Author Message
 PostPosted: June 27th, 2013, 5:16 pm   
Team Member
User avatar

Joined: April 3rd, 2012, 5:09 pm
Posts: 1187
Location: Ontari-ari-ario
Now this is cool. I have heard of a Charger or two in the US but this is definitely the furthest south. Keep us updated on progress and welcome aboard!

_________________
When you need more power try Binford tools.

Charger 18 DL, 2.6L Yamaha


Top
 Profile Send private message  
 PostPosted: June 27th, 2013, 7:11 pm   
Member

Joined: July 21st, 2012, 2:31 pm
Posts: 37
Location: Florida
Just some more musings. I don't know how many of you have done any major glass grinding but if you do, here's a tip. I originally used those Tyvek siuts but at $12 ea. they get expensive. Plus, I found that the glass still seemed to get through and the elastic wrists and hood seemed to collect the glass and grind it into my skin. Found a better, much cheaper, much more comical-looking solution. I took two heavy duty black trash bags and made a suit. One bag i cut a hole for my head and arms to poke out of. The second bag i cut in two top to bottom and folded them over, taping the seam with duct tape, forming two sleeves. Slide the sleeves on your arms and tape to the pullover bag with duct tape making sure to get a complete seal. Then i used duct tape to seal the sleeves around my wrists by having he tape half on my skin and half on the bag sleeve. Do the same around my neck. Did not bother with a hood because with the ear muffs for hearin protection, the respirator, and full goggles, it wouldn't be practical. The plastic seemed to repel the glass for the most part(static electricty?) and when I was done i would simply hose off with the garden hose and had very little itching. Especially considering how much glass i was grinding. Oh yeah, one other thing, the tyvek suit would tear where I leaned on my forearms. Plastic would tear, too, but I rectified that by reinforcing the contact area with a couple strips of duct tape. Very resilient stuff. Yeah, it hurt a little pulling the tape off, but not nearly as bad as trying to fall asleep with your arms and neck on fire. One last thing, don't forget to tape the bottom edge of the suit to your pants! That glass is like a mosquito, it WILL find any hole in your armour and make you miserable!


Top
 Profile Send private message  
 PostPosted: June 27th, 2013, 10:02 pm   
Member

Joined: July 21st, 2012, 2:31 pm
Posts: 37
Location: Florida
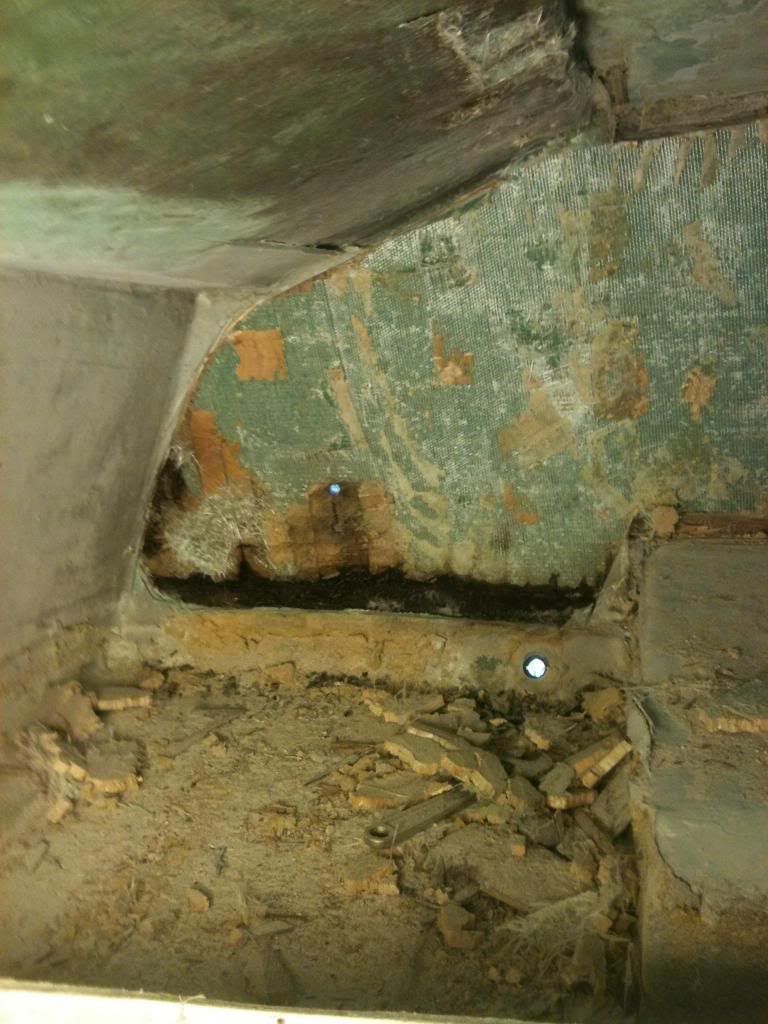
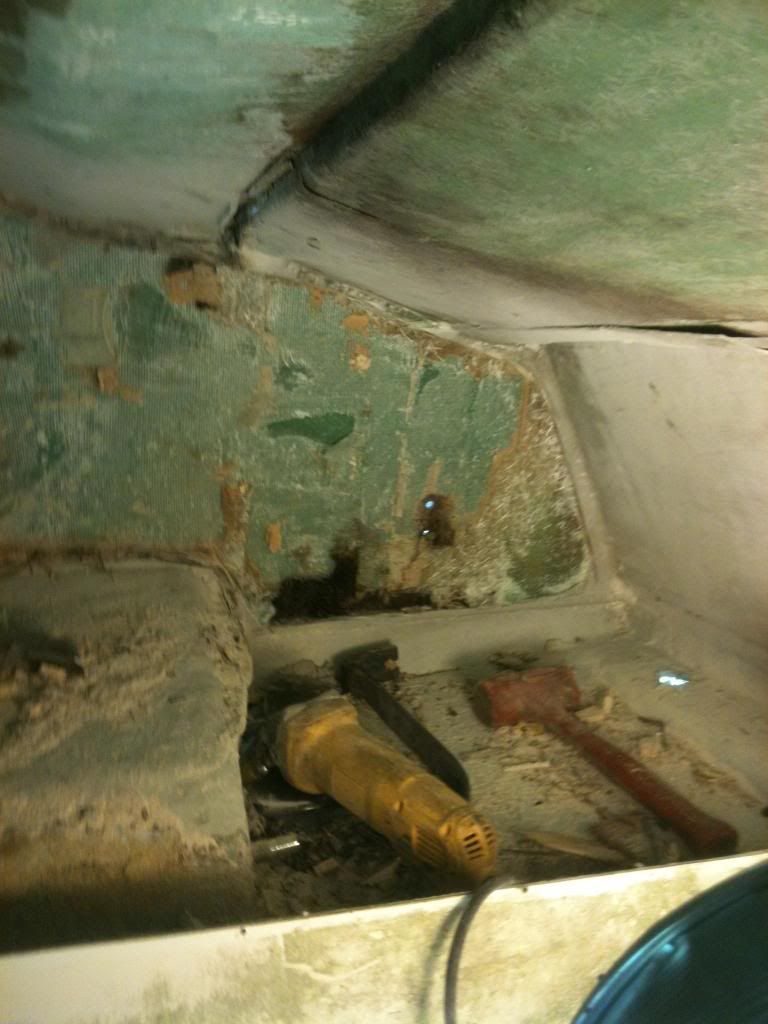
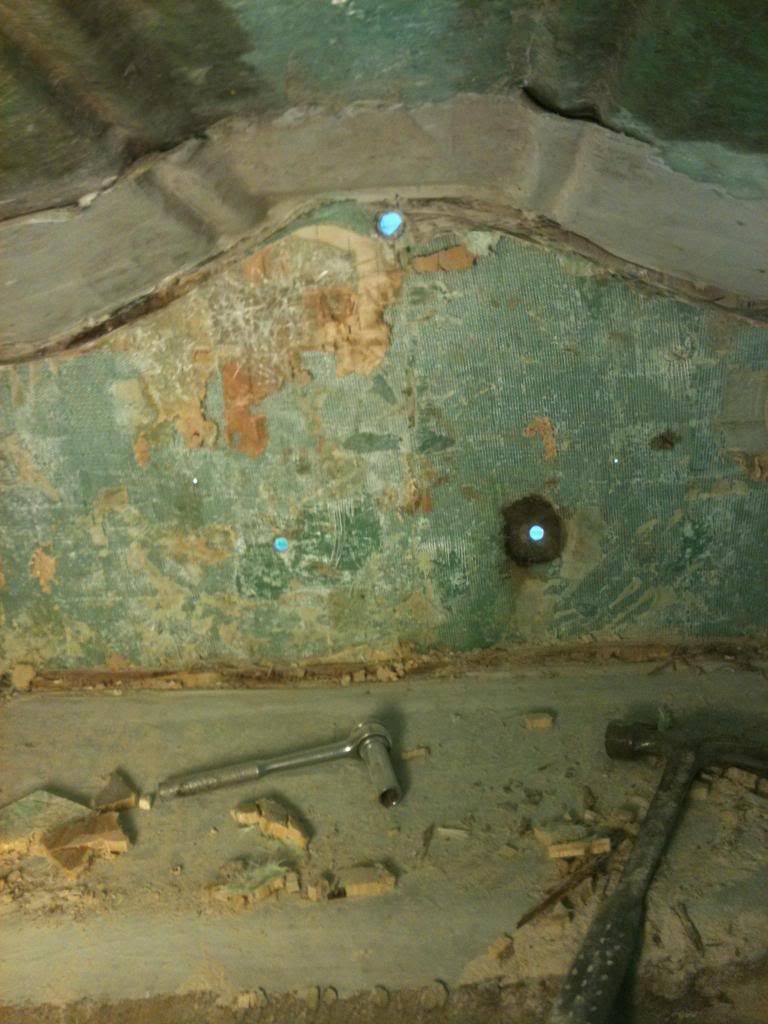
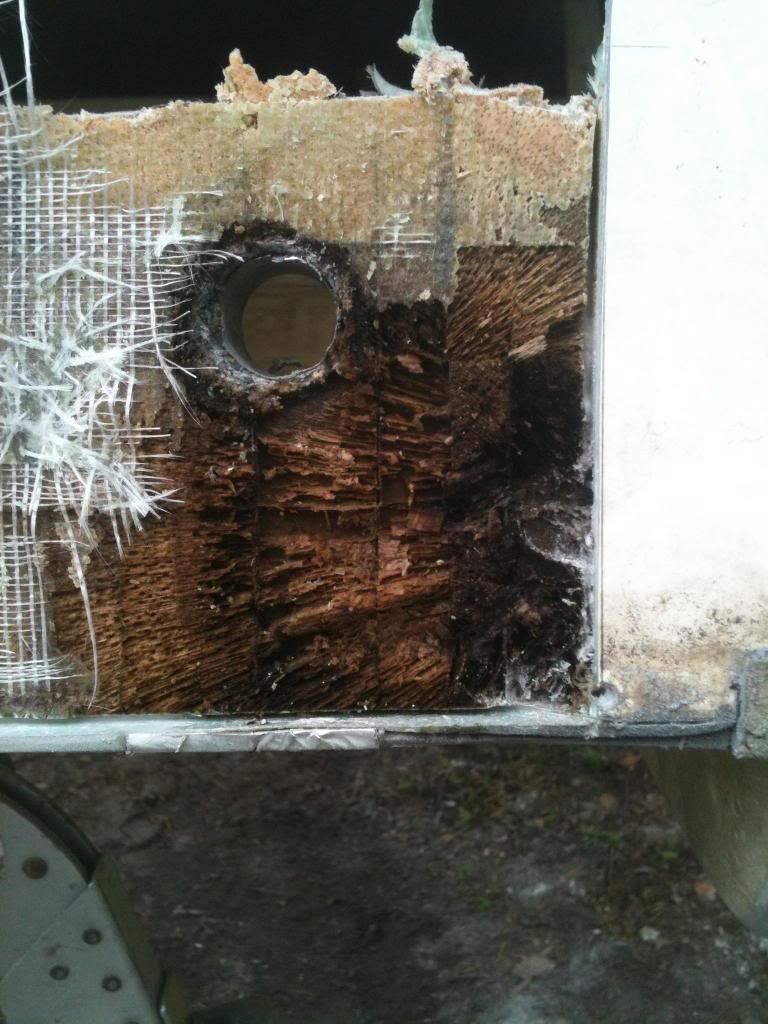
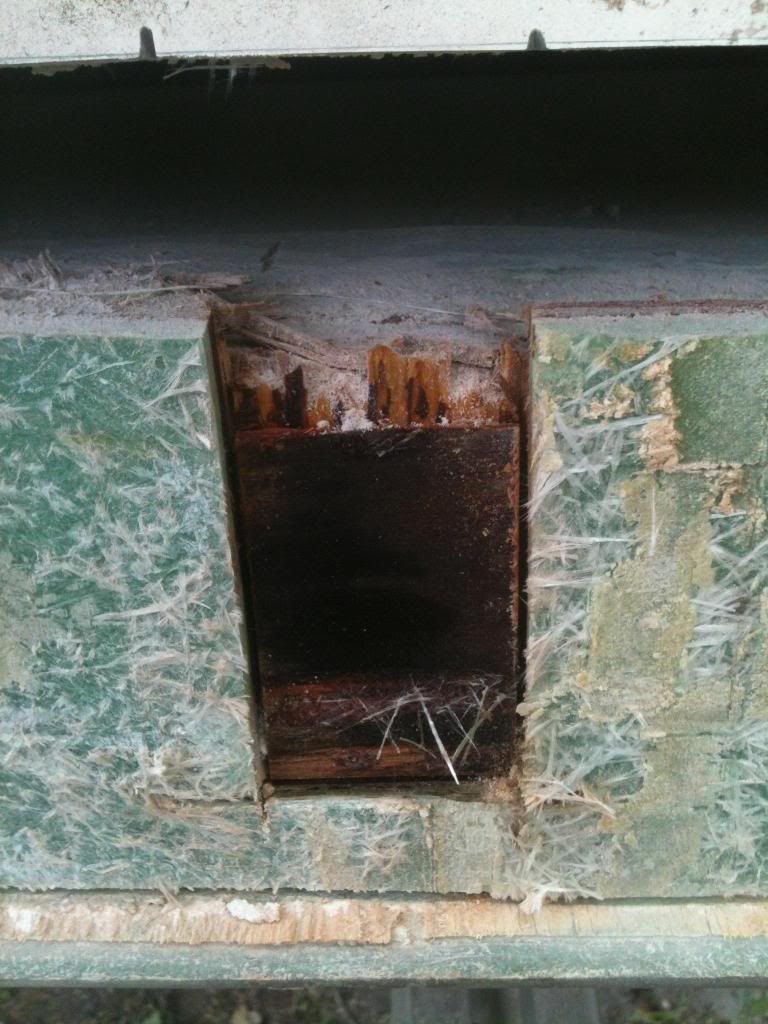
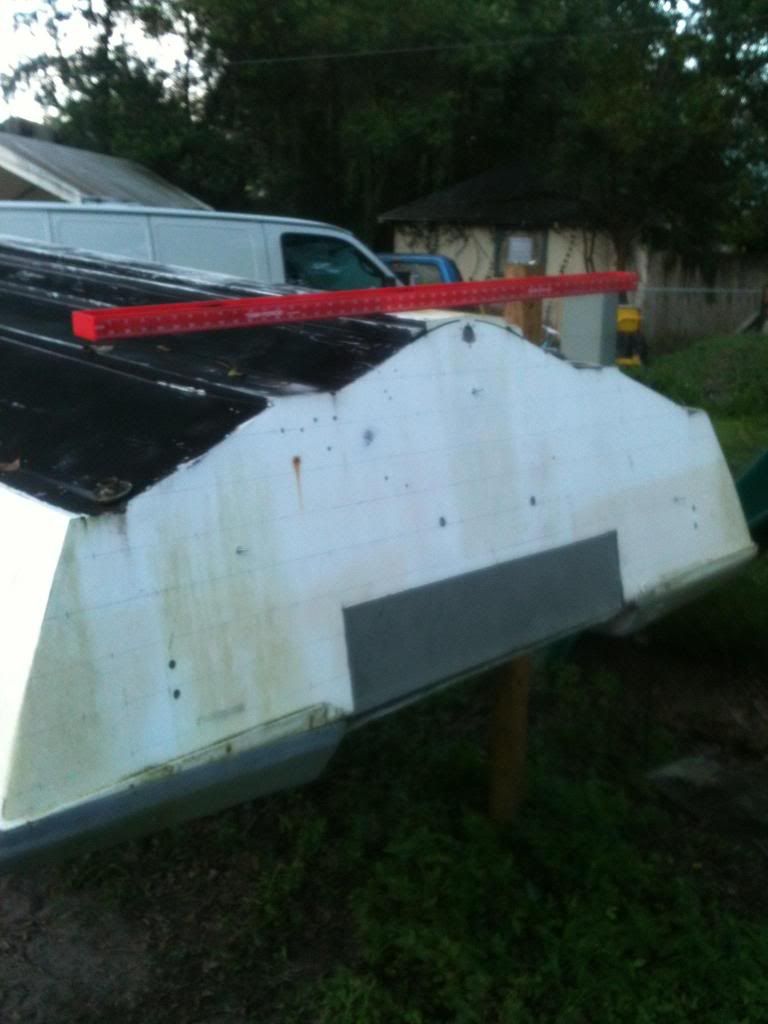
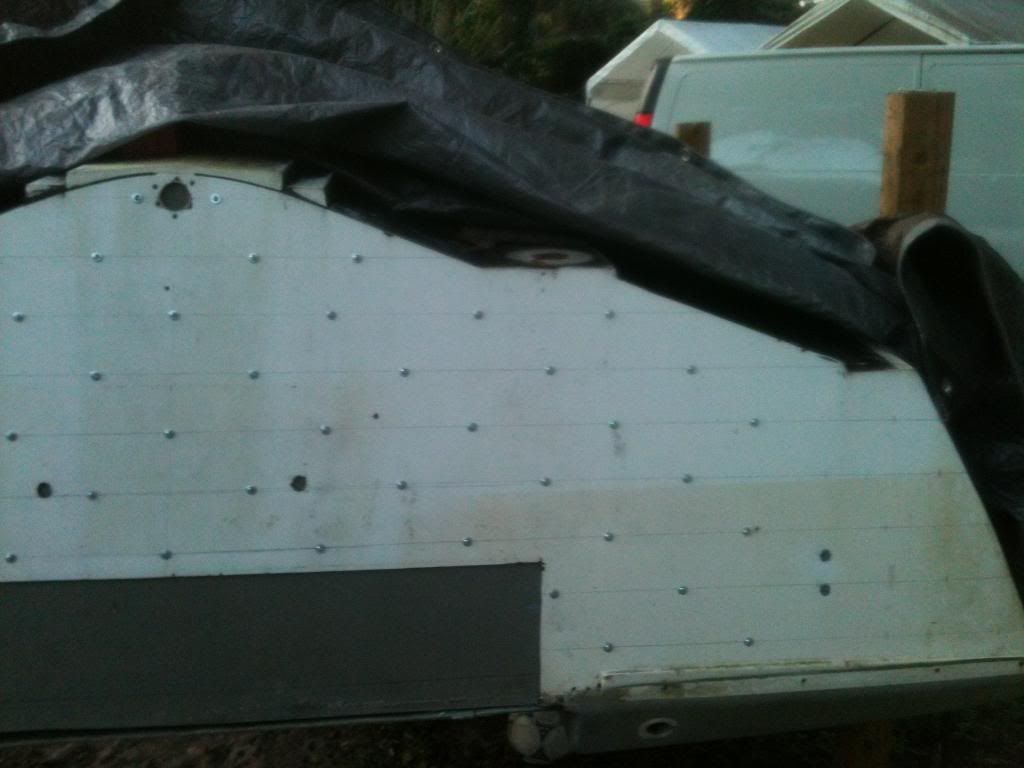
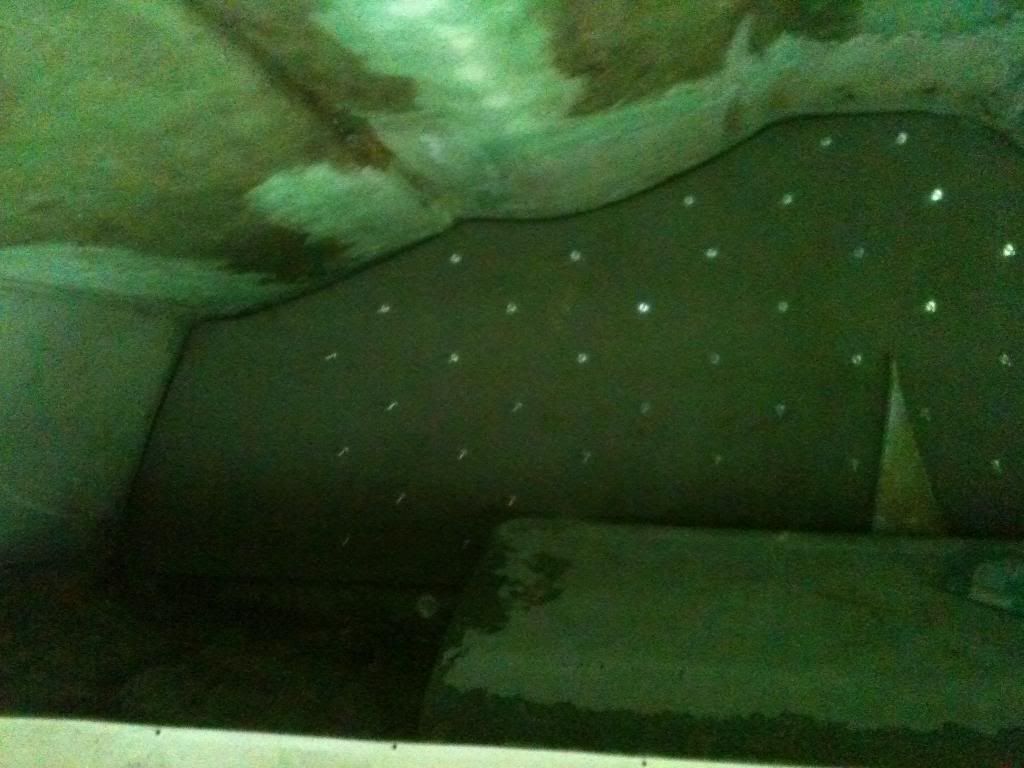
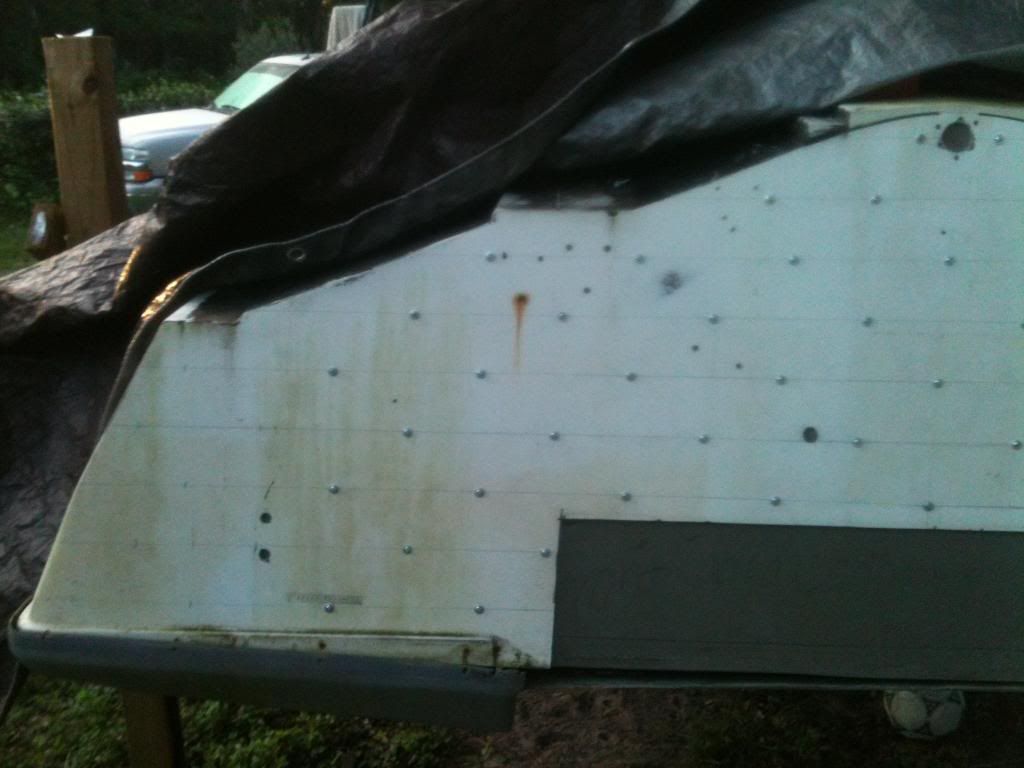
I digress. here's some more stuff. These are pics of the transom removal. You can see the dark rotted wood around the top of the transom. The boat is upside down, remember. I definitely think that the core was balsa. It was in comprised of about 2" x 2" squares and it was easily dented with my fingernail. There are also balsa "stringers" that run up the bottom of the boat. They appear to be about 1 inch square. They are in good condition and I'm not about to dig them out for no good damn reason!

Image

Image

in this pic you can actually see the square pattern left by the balsa cubes.

Image

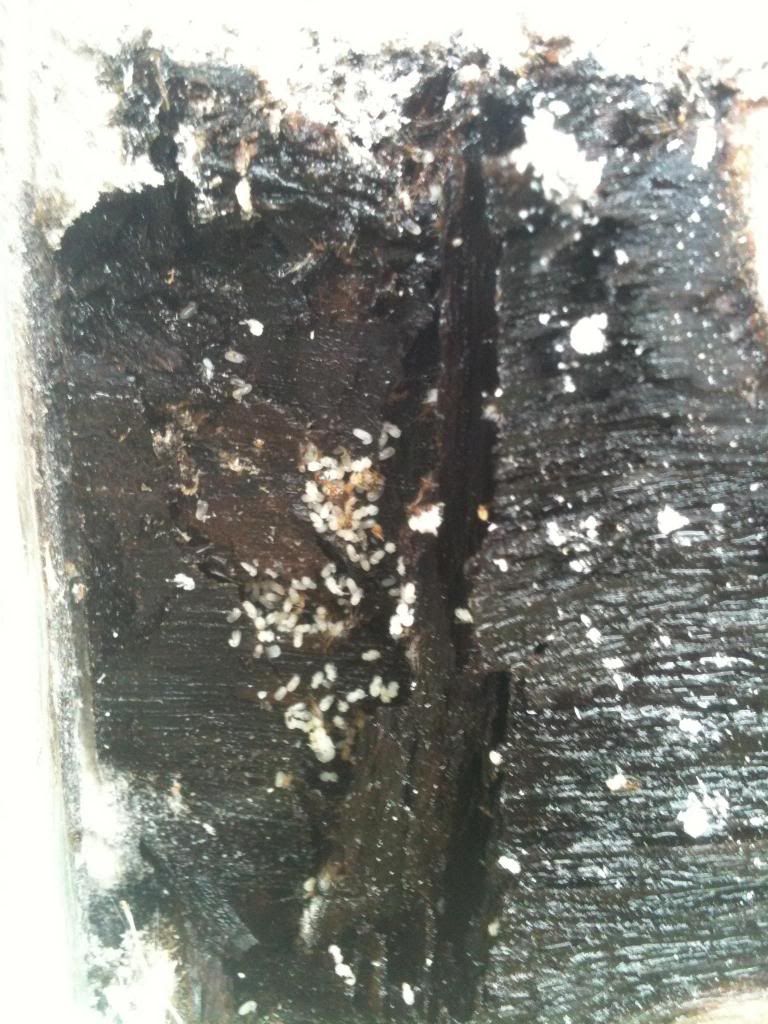
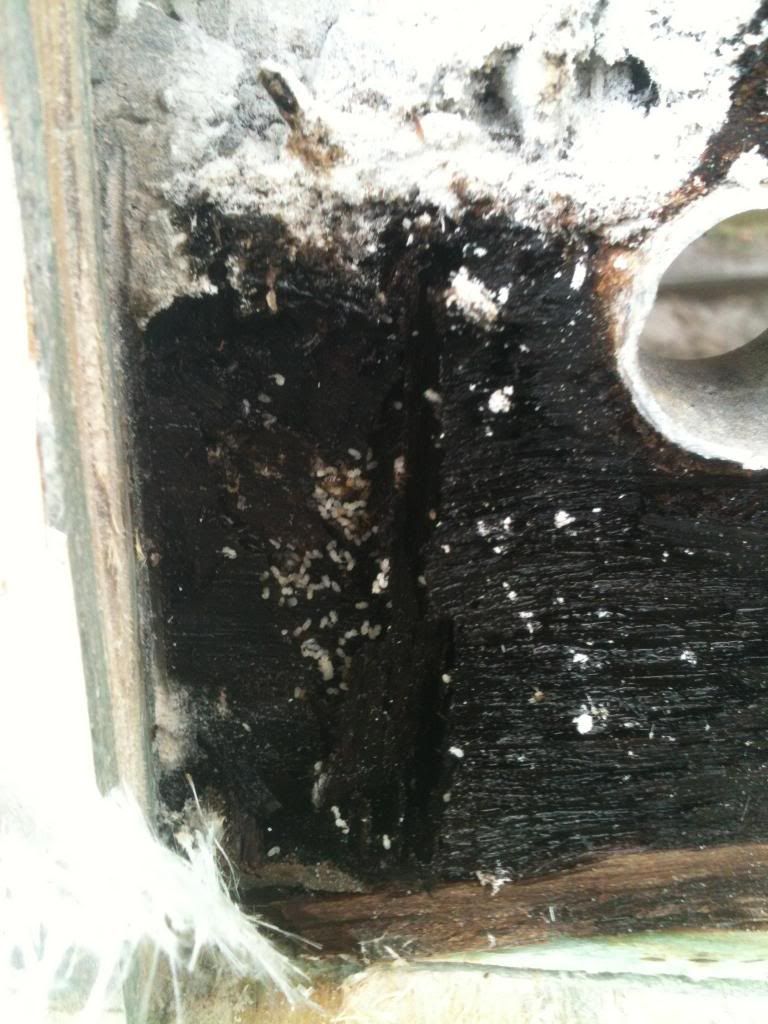
Here's some ugly ones. This is why it's bad to see carpenter ants crawling on your boat. These were taken around the drain ports for the motor well. Yes, those are ant eggs. Nasty little bastards!

Image

Image

Image

This is the back side of the layer of glass that separated the balsa layer from the plywood center layer.

Image

Ok. That's all my photos for now.


Top
 Profile Send private message  
 PostPosted: June 27th, 2013, 10:20 pm   
Member

Joined: July 21st, 2012, 2:31 pm
Posts: 37
Location: Florida
DoktorC, glad you caught that in the subject title! I wasn't sure if anybody would get that. We get a lot of snowbirds down here in the winter. Seems a long way to drag a boat but I have no other explanation.


Top
 Profile Send private message  
 PostPosted: June 28th, 2013, 12:09 pm   
Member

Joined: July 21st, 2012, 2:31 pm
Posts: 37
Location: Florida
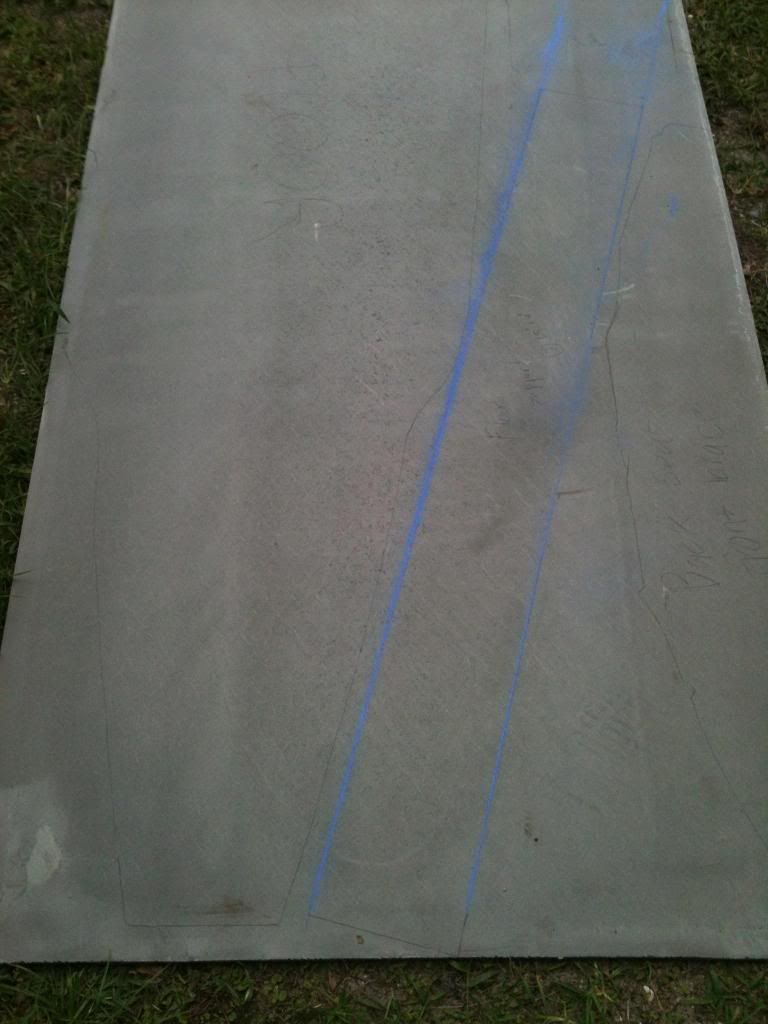
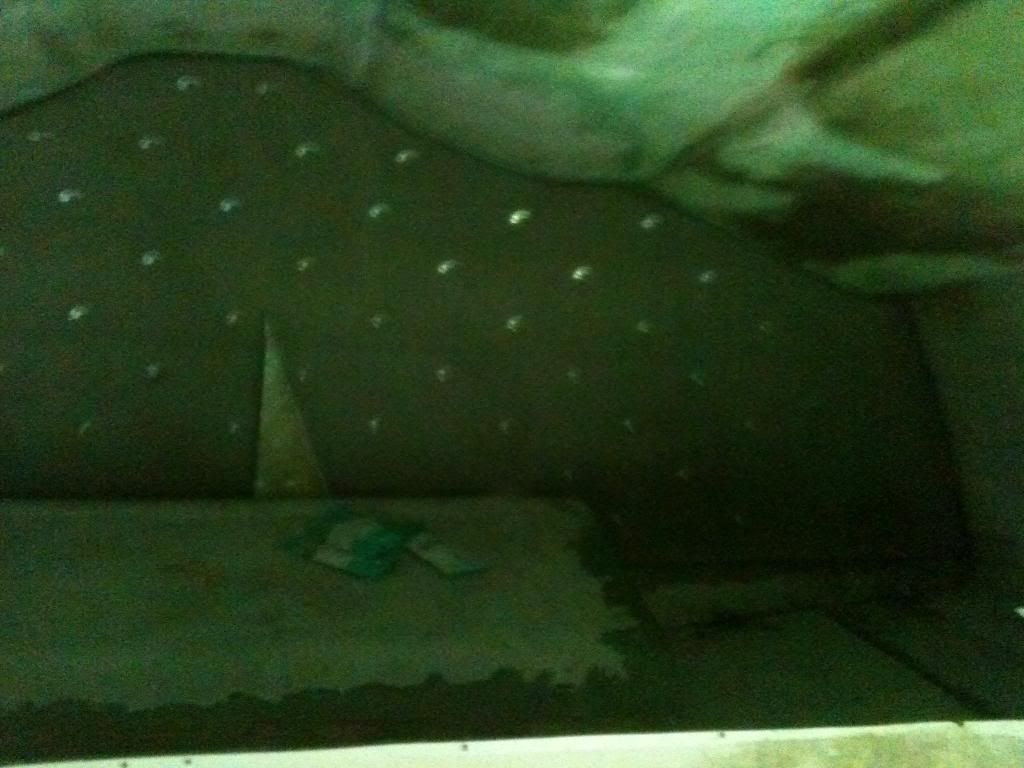
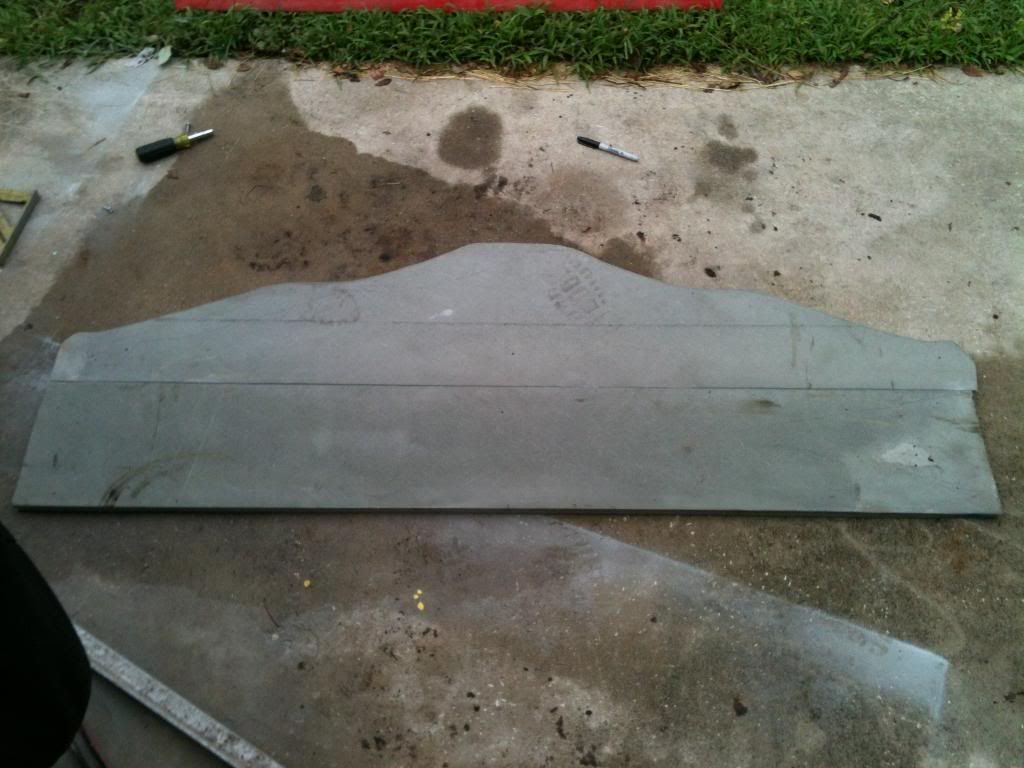
Trying to post from my phone. These are pics of my first sheet of coosa. Don't know if anybody has used this stuff but its a fiberglass composite that is 30% lighter than plywood and contains zero wood. Not cheap, though. 4 x 8 x 3/4" sheet is $240 and i had to drive two hours to get it. Anyway, laid out my parts and thats what these are. I can get both layers of transom and both kneeboards out of one sheet and the rear seat crosspiece, floor, and floor support out the second sheet.

Image


Top
 Profile Send private message  
 PostPosted: June 28th, 2013, 8:12 pm   
Member

Joined: July 21st, 2012, 2:31 pm
Posts: 37
Location: Florida
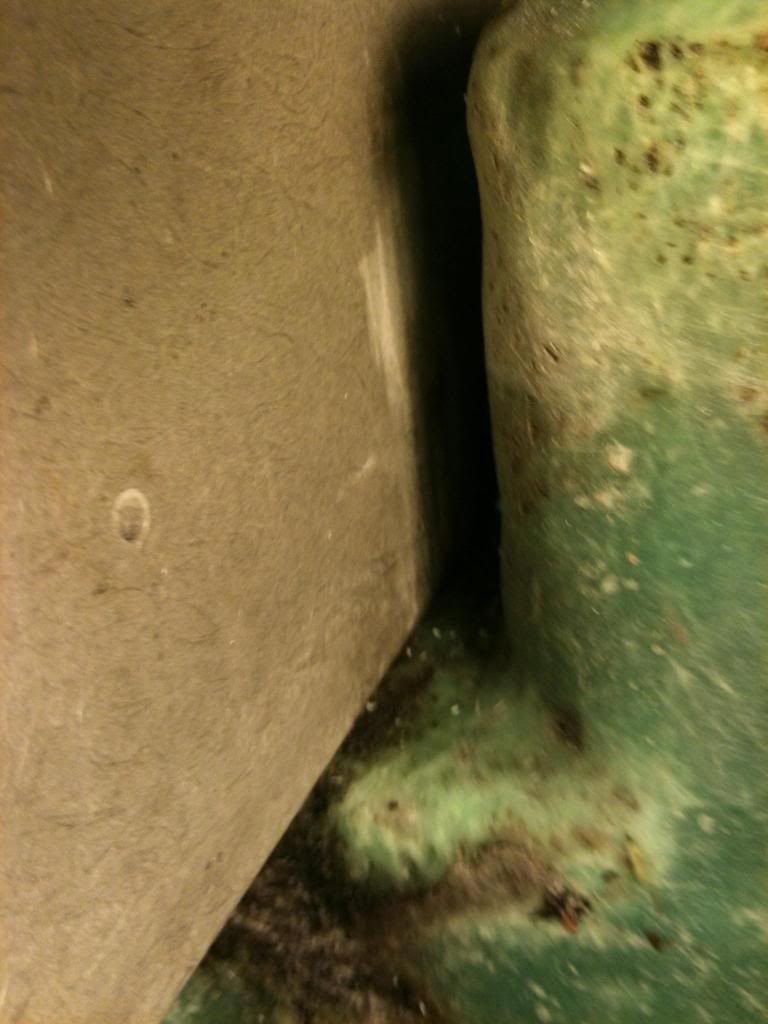
Here's some shots of the first sheet of coosa fitted it. Used a ton of screws in order to get even clamping across the entire width.

Image

Image

Image

Image

Image


Top
 Profile Send private message  
 PostPosted: June 28th, 2013, 8:18 pm   
Member

Joined: July 21st, 2012, 2:31 pm
Posts: 37
Location: Florida
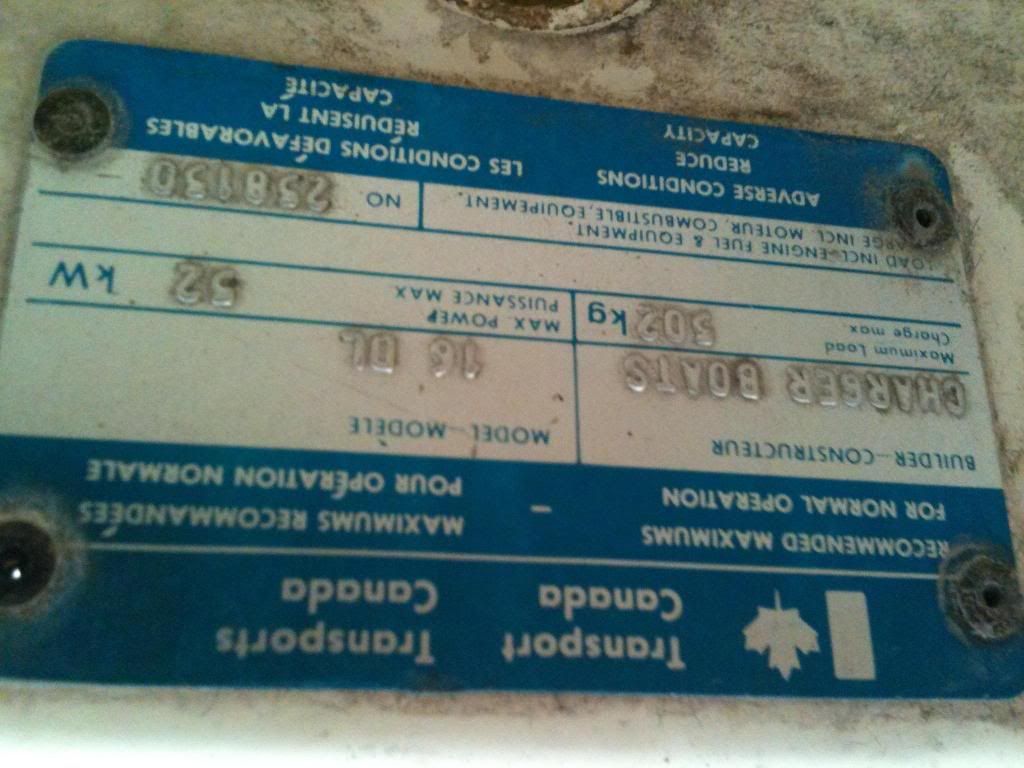
got a pic of the mfg. tag. Sorry its upside down. forgot to rotate it before I uploaded.

Image


Top
 Profile Send private message  
 PostPosted: June 28th, 2013, 8:48 pm   
Member

Joined: July 21st, 2012, 2:31 pm
Posts: 37
Location: Florida
The first layer can go in in one piece. No problem. The second sheet has to fit in the remaining gap and its tight.

Image

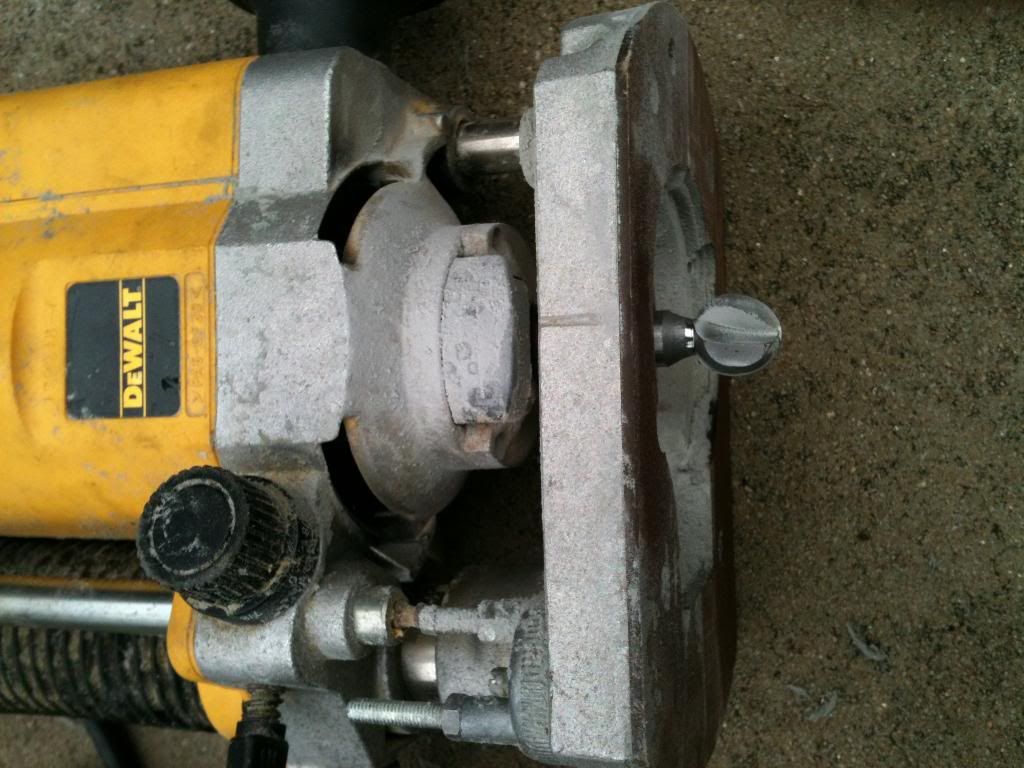
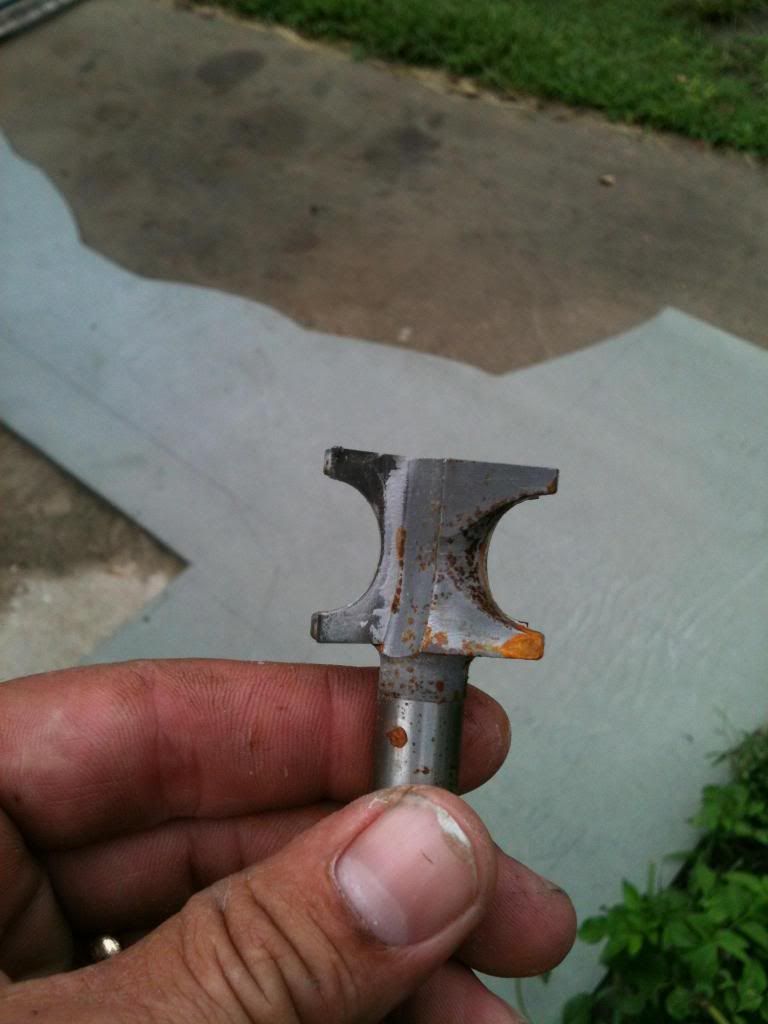
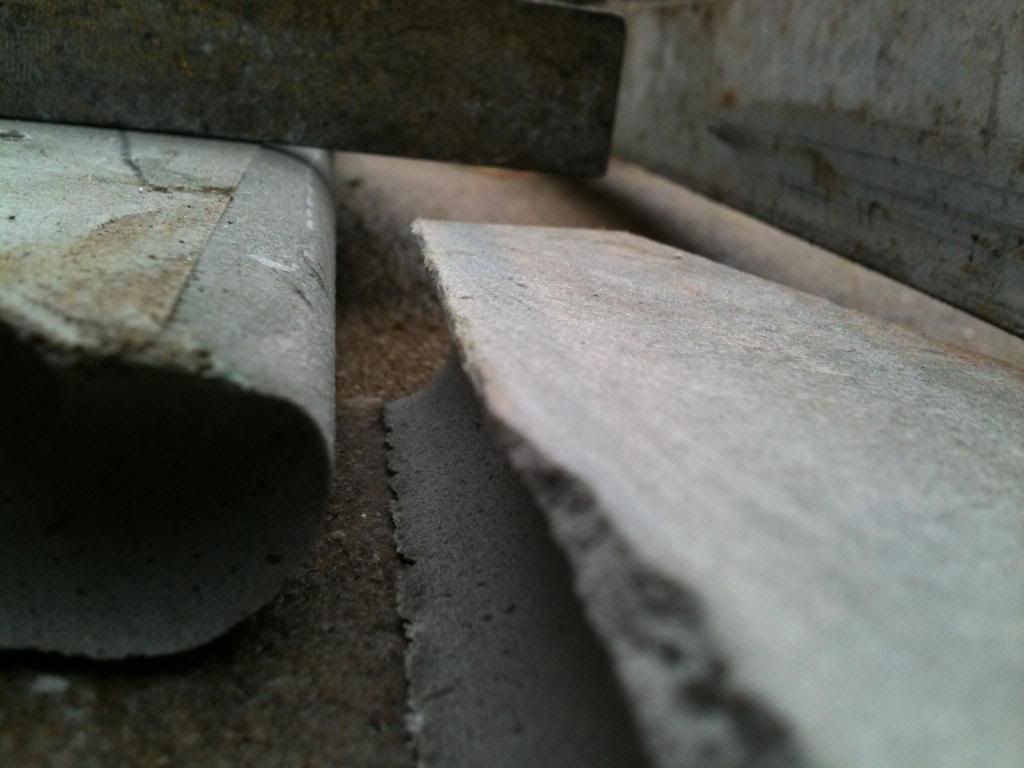
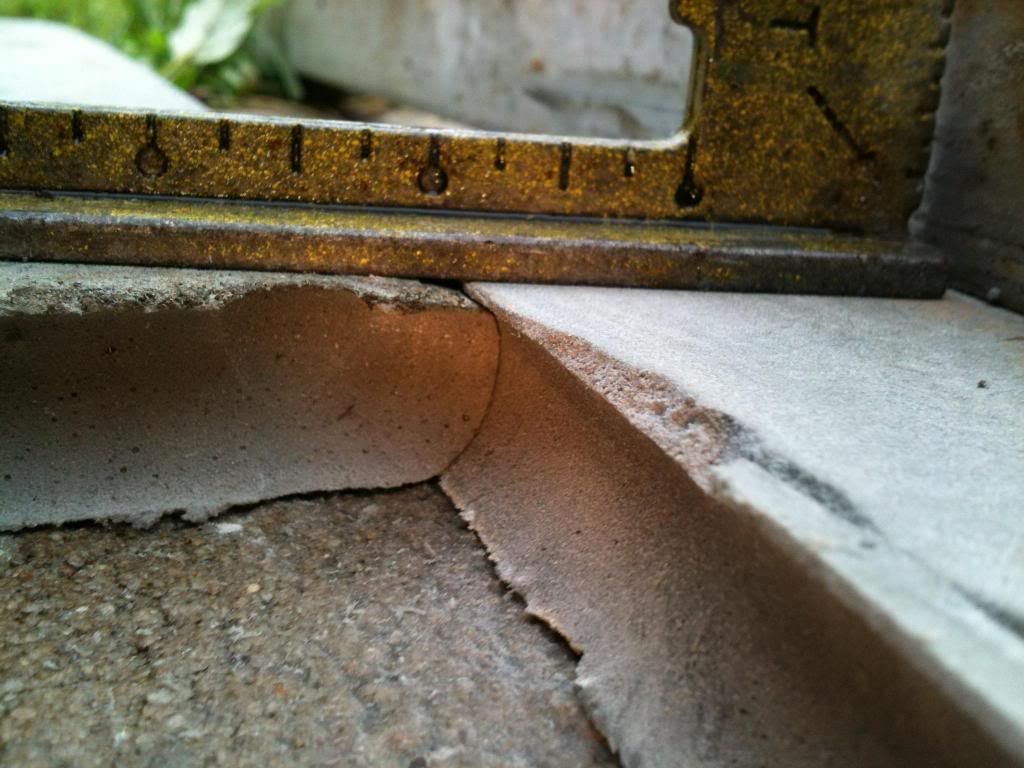
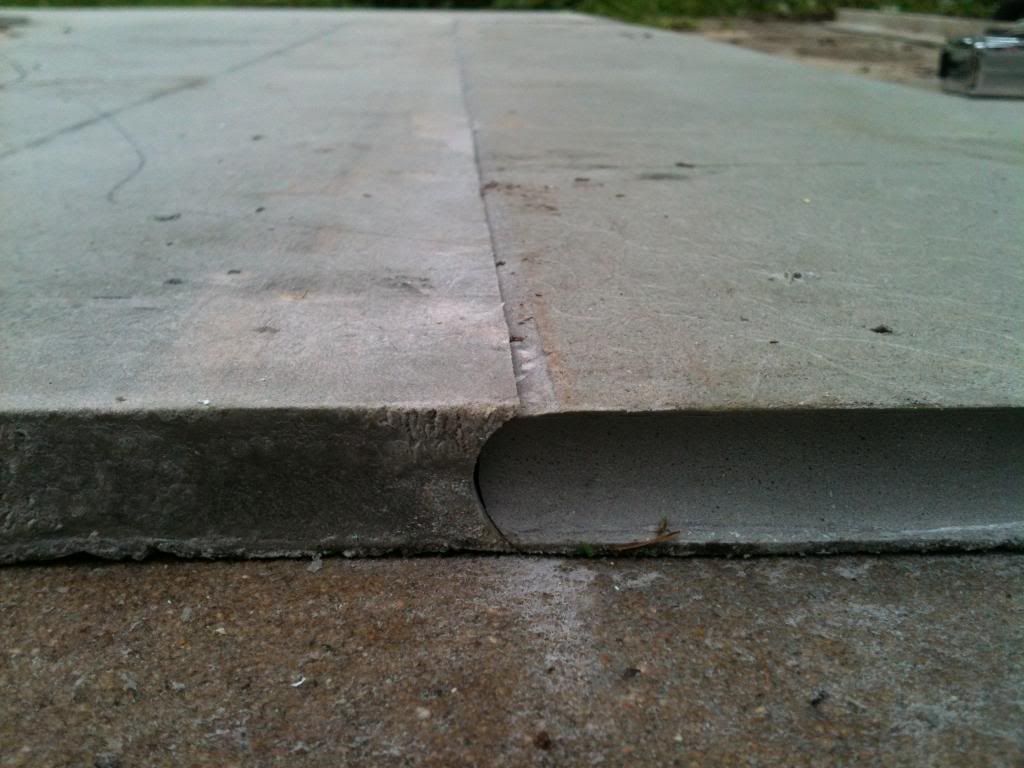
So here's my solution: I'm going to make the second layer a four piece layer. One strip that goes in the gap, one piece that has the contour, and two side pieces. Each joint will lock together by routing a male and female edge. Got a couple edges routed tonight and hoping to get the rest done tomorrow.

Image

Image

Image

Image

Image

Here's the top and bottom pieces routed and fitted together
Image


Top
 Profile Send private message  
 PostPosted: June 28th, 2013, 10:22 pm   
HPBC PRESIDENT
User avatar

Joined: March 31st, 2012, 5:53 pm
Posts: 3548
Location: Lapping lil charger
I like the joint. Looks like a good tight fit...coosa dust is brutal though isn't it lol. Do you figure you need something across the joint for added strength?

Make certain your core is dry on the pad ad where your knees attach....both were trouble spots on my DL. Looks like you're making some good progress though.

_________________
08 SRV w/3.1 Hydro-tec Phase lll

I've got enough torque to tear a hole....in time...


Top
 Profile Send private message  
 PostPosted: June 29th, 2013, 5:53 am   
Member

Joined: July 21st, 2012, 2:31 pm
Posts: 37
Location: Florida
Doc, by dry I assume you mean no moisture, correct? I have some questions for you or anybody that might know. Would the transom be any stronger if i epoxied a layer of woven between the layers? Also, is there a good reason the factory didn't bond the floor to the hull and center stringer? Seems to me it would "lock" the hull together. Kinda like a unibody versus framed cars. Thanks.


Top
 Profile Send private message  
Display posts from previous:  Sort by  
Post new topic Reply to topic  [ 68 posts ]  Go to page Previous  1, 2, 3, 4, 5 ... 7  Next

All times are UTC - 5 hours [ DST ]


Who is online

Users browsing this forum: No registered users and 13 guests


You cannot post new topics in this forum
You cannot reply to topics in this forum
You cannot edit your posts in this forum
You cannot delete your posts in this forum
You cannot post attachments in this forum

Search for:
Jump to:  


Powered by phpBB © 2000, 2002, 2005, 2007 phpBB Group
Style originally created by Volize © 2003 • Redesigned SkyLine by MartectX © 2008 - 2010